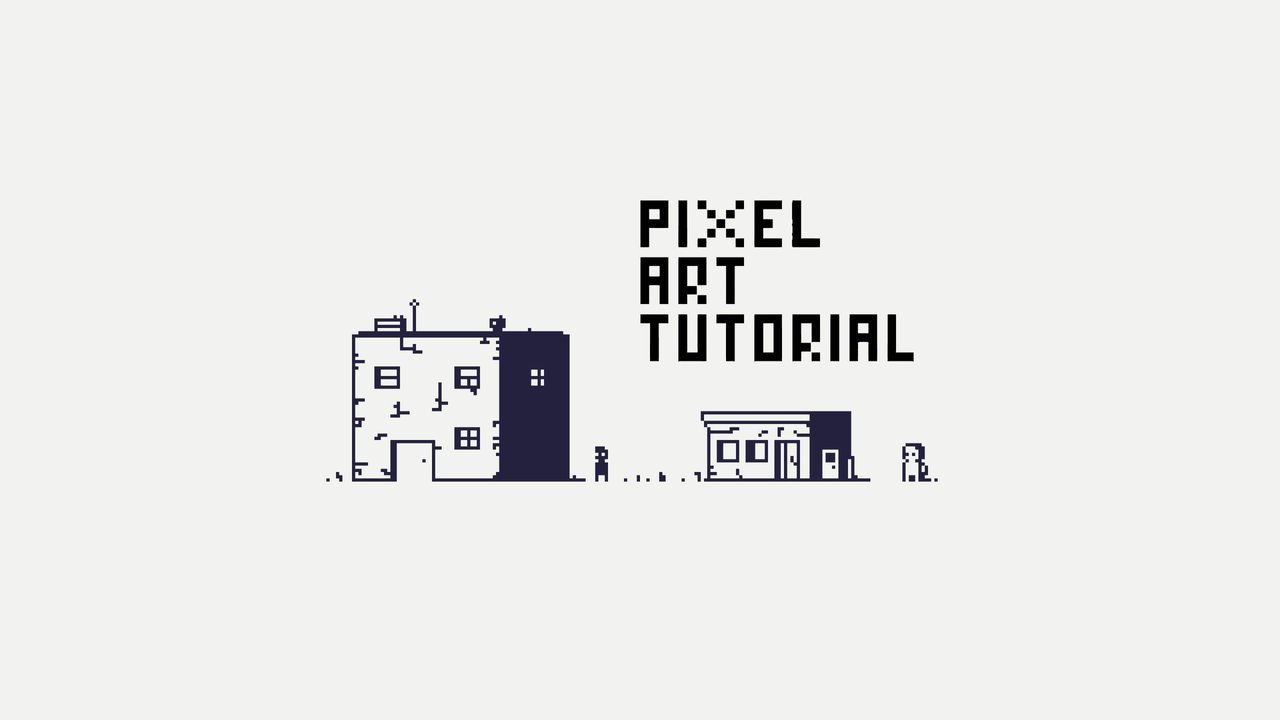
Welcome to my Pixel Art Tutorial – 1 bit of fun post!
Hi everyone!
I assume you’ve heard the phrase 8-bit or 16-bit when talking about off-fashioned computers or ‘lo fi’ games.. and have probably thought that it has something to do with the resolution or amount of pixels.
This is a great video that brings back a lot of nostalgia, particular when he gets to Alley Cats and Donkey Kong (amazing considering I never had an Atari):
The phrase 8-bit or 16-bit actually refers to the number of colours a computer or computer monitor could handle. Technically they refer to how much data can be transferred at a time, ie, 8-bit computers could transfer 8 bits of data at the same time, but for our purpose, it’s all about the colours… and 8-bit computers had 256 colours available to them [Source].
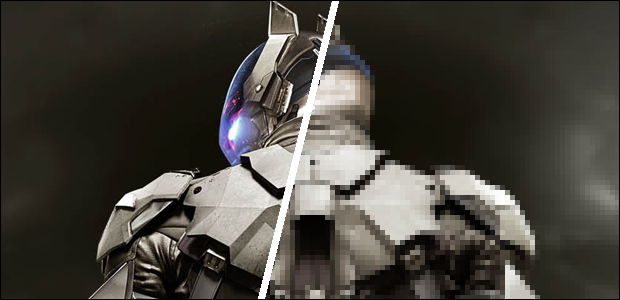
The faster and more powerful the computer, the more pixels they can cram in (higher resolution) and the more colours available to them…
You and I could play the same game or watch the same video, but depending on our computers, you might see the left side, and I might see the right side:
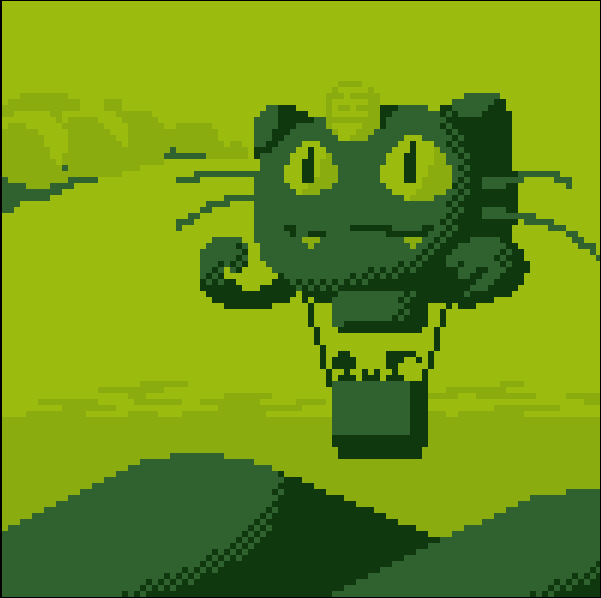
What this means for Pixel Art is that if you want something to have a retro feel to it, you should also use a lower-resolution (lo-rez) colour scheme. For example, pixel artist Crispybag created this image earlier this week that would have looked right at home on a Gameboy:
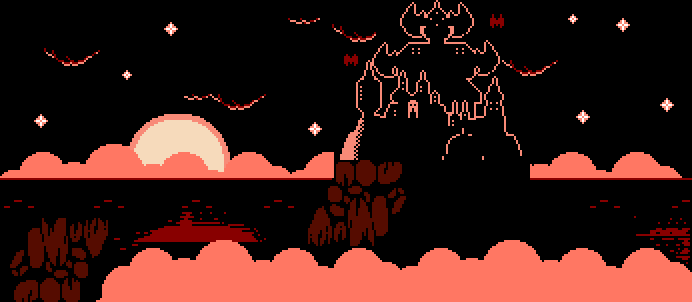
Or, this piece from PixelTeriyaki that would totally fit on an old NES:
I’m sure you determined from the title that we’ll be working with 1-bit pixel art, which is….. 2 colours.
It can be any 2 colours really, and personally I think that straight black and white it a little harsh on the eyes… so I prefer a bit of a dark navy blue (#23213d) for the black and a slightly off-white for the white (#f2f2f0).
The beauty of pixel art is always less is more… you use colours to represent shapes, shading and objects… and when that’s stripped away to just 2 colours, it can make things so much easier… or so much harder.
You have to convey your scene in the least amount of information, essentially.
Since we’re just starting with this concept, let’s go super simple and low-rez:
Excited? Great.
Lo-rez also has a spooky look about it which I really like… you really have to think about what is in the light, what is the in shadow and how that looks…
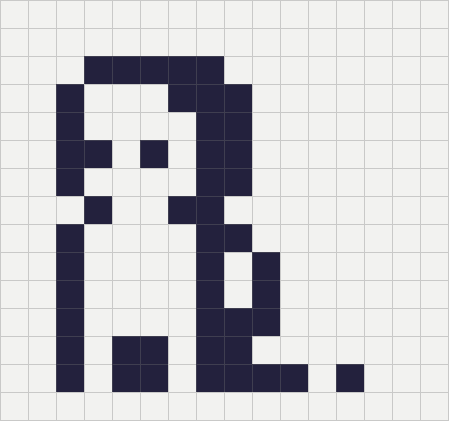
Let’s start with the person.

It’s the quickest person you’ll ever draw. It’s just 35 pixels coloured in…
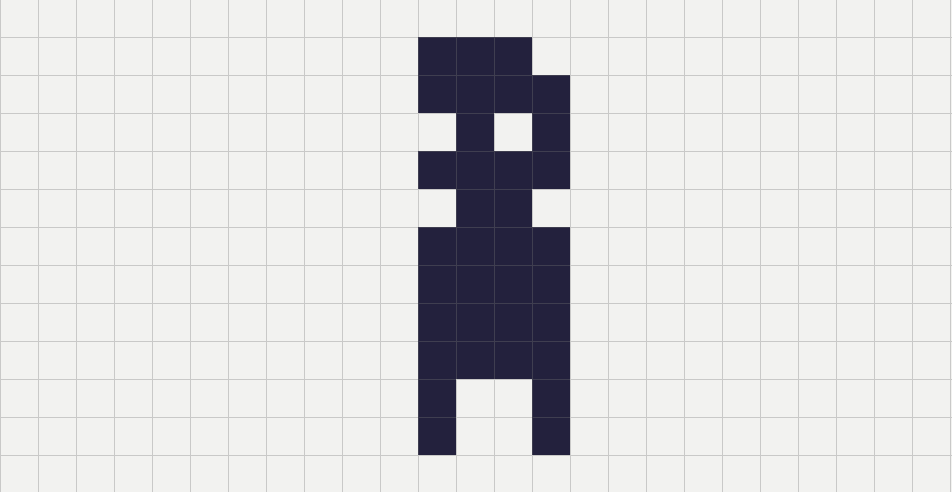
… and I get it… it’s not the most functional person, he’s got no arms, he wouldn’t be a ton of fun in a game, but all he has to do is represent a person in a scene.
Our person is 11 pixels high… which is what we’ll use to get an idea of the height for the buildings.
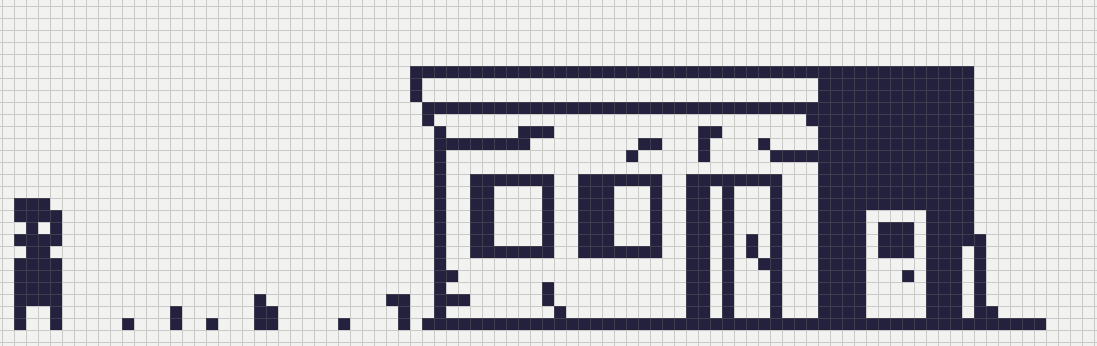
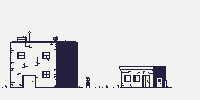
I’ve made this building 22 pixels high, double the height of our 1-bit pixel guy.
The door (on the light side) is just a touch taller than him, and the door on the far right (on the dark side) is a touch smaller to give it a little perspective.
Adding a dark side of the building automatically gives the building shape, you can tell how long and how deep the shop goes.
I’ve added cracks in the building, just to give it a run down look to go with the spookiness of our guy and general feeling of this piece.
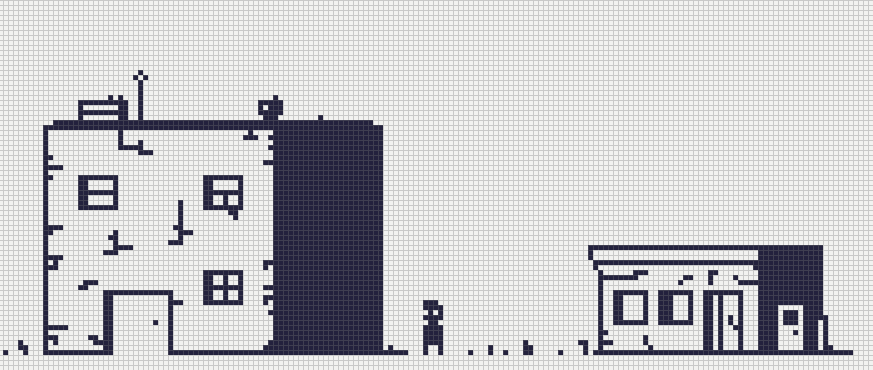
This building is also super sketchy and run down. The building height is 47 pixels high… there was no real math behind it. I wanted to make it double the other building (bringing it to 44 pixels) and then just added a couple more so it didn’t seem so calculated.
Given that we have to be super sparing with pixels, I didn’t add pixels at the bottom of the doorway of the apartment building to make it look like the door doesn’t have a curb.
The guy is dark because he’s pretty much in the shadow of the tall building.. and so we can add a person in the light, that’s the same proportions as the shadow guy.
I’ve pretty much taken the shape of the dark guy and then reversed it… this person has an arm too… lucky! The lines at the bottom right are this person’s shadow.
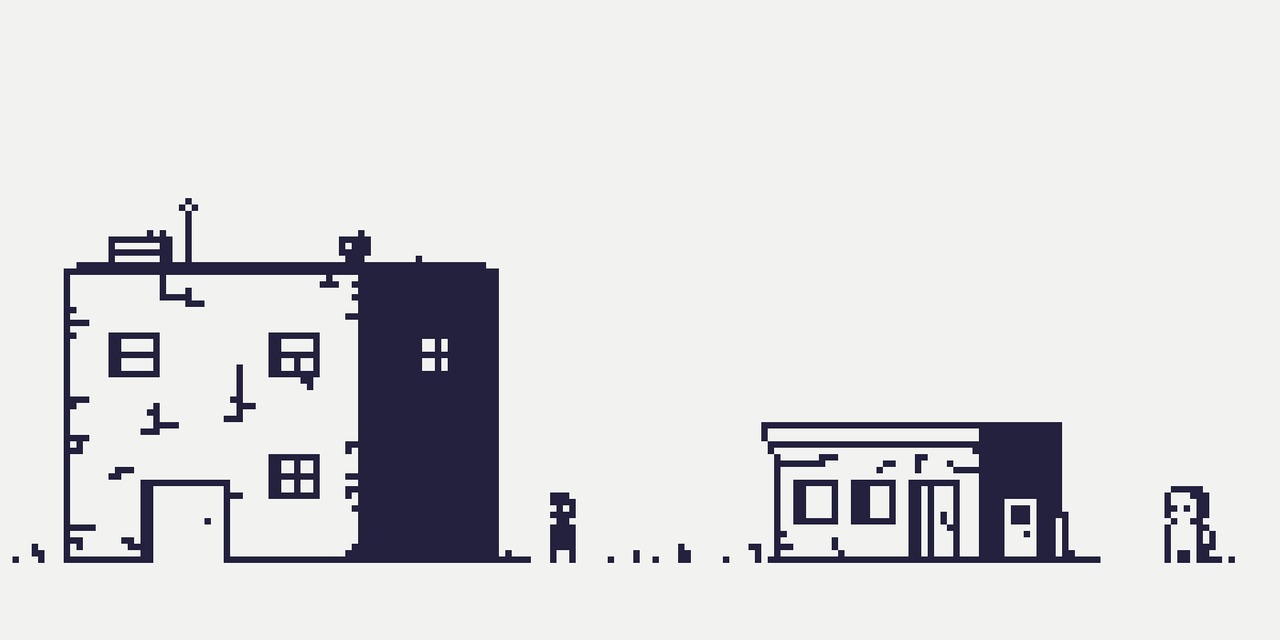
Here is the final version of this little pixel art scene:
I got quite a lot from this video, and he has so many great examples and different shading/gradients/patterns for fun.
I love this piece from LumpyTouch – obviously started with black as the base colour and then drew in all the light. It’s super cute…
Here is a cool little Double Dragon (but even lower resolution) lookalike by zxdevs :
This is such a great example of all the characters you could design using only 2 colours and hardly any space. These look great!

This is wacky, but it’s a great example of using a mostly-white background instead of the heavier, darker examples above.
Thanks again for reading, I love the creativity in the pixel art space, and I hope this maybe inspires you to dabble while you’re on endless Zoom calls.
Let me know if you’re into a bit of 1 bit business on Twitter by commenting on the tweet below.
Thanks for reading my Pixel Art Tutorial – 1 bit of fun post!

———–Sources: All images not referenced were made by me using the program Pyxel Edit.————–
Please note : The above post may contain affiliate links.
Below are some product referral links that I love and will benefit us both if you’re interested.
Splinterlands – A super fun blockchain card game that I play almost every day.
Fathom Analytics – Cookie notices no longer needed since Fathom doesn’t track data. You can see this site’s analytics right here.
Coil – A $5 USD monthly subscription fee provides you access to a ton of content and sites in a way that fairly rewards the creators of that content.
Exxp – The WordPress App to link your blog to the Hive blockchain.
NomadTask – Earn for completing online tasks like following accounts or completing reviews.
MINT Club – Create your own Smart Media Tokens with no coding required.
GALA Games – Gala is creating a whole platform of blockchain games. Definitely excited about Mirandus, Townstar and SpiderTanks.
MCO – Use my referral link https://crypto.com/app/9h9jnlxun9 to sign up for Crypto.com and we both get $25 USD.
Aptera – Get 30% off the reserve price for this incredible electric vehicle. (My post)