Welcome to my Pixel Art Tutorial- create your own avatar post – it’s a beginner tutorial!
In this tutorial we’re going to be creating the base for you to create any number of Pixel Art avatars. Once you’ve got the basic style under control, you’ll be able to make changes to make anyone you like…
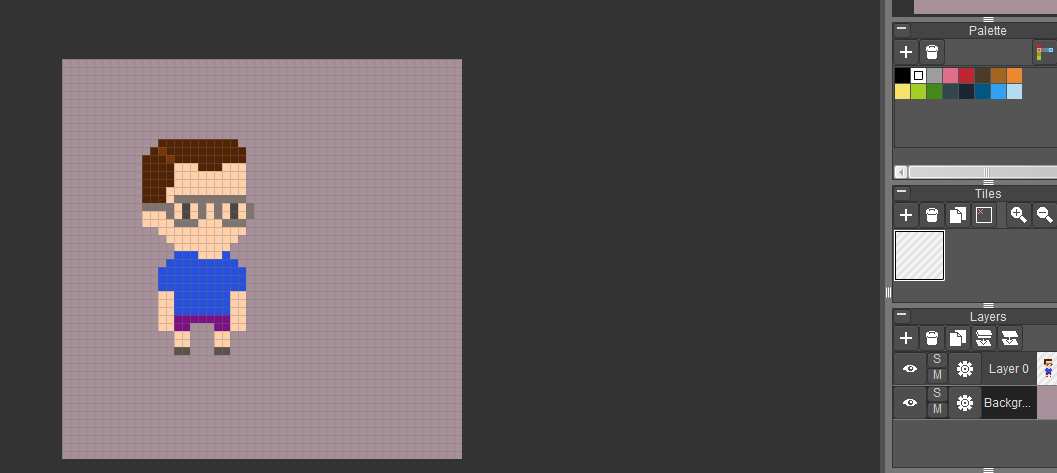
I’ll be using the Pyxel Edit program, but you can honestly use any default art program on your device, or any Pixel Art website..
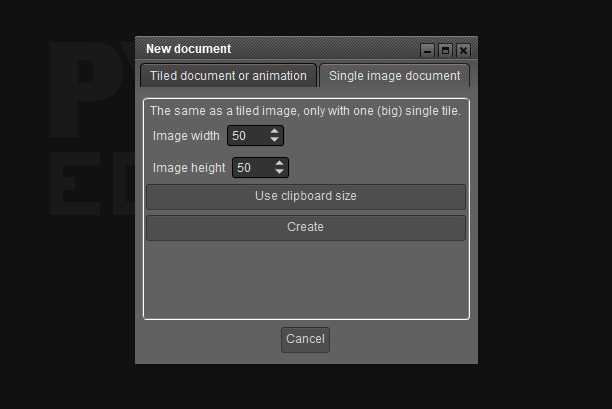
Start with a document that is 50 pixels by 50 pixels:
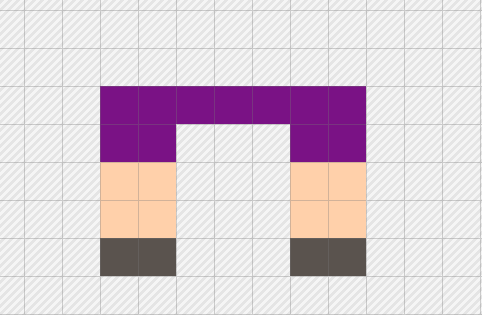
Let’s start with the legs. I’ve used #7a1285 here, but you really, really don’t have to if you have any sense of style.
7 pixels across for your avatar’s waist, and then 2 pixel blocks for each hip:

I’m using #ffd0aa for skin and #5a534e for shoes here, but basically make the legs 2×2 pixels and the shoes/feet 2 pixels wide:
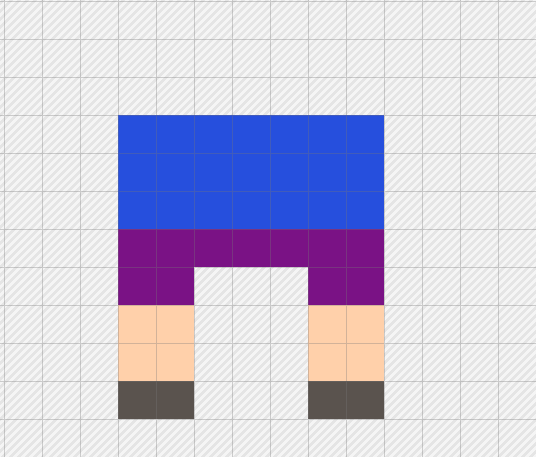
Next we’re going to build up the lower body… I’m using #264fdd here, but again, you can use any colour. Throw down three lines of 7 pixels to keep the same width as the waist and legs:
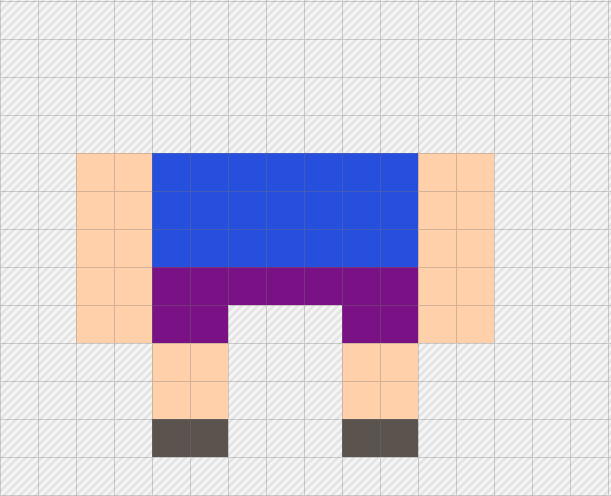
Our avatar needs some arms! Use the same skin colour that you used for the legs and draw in two 2×5 columns of pixels alongside the waist and lower torso:
Fill in the upper body the same width of the arms… draw a 3×11 pixel rectangle, then add a line of 9 pixels centered on top of that… and then 3 pixels on one side to make a collar, and 1 pixel on the right side to make the other side of the collar:
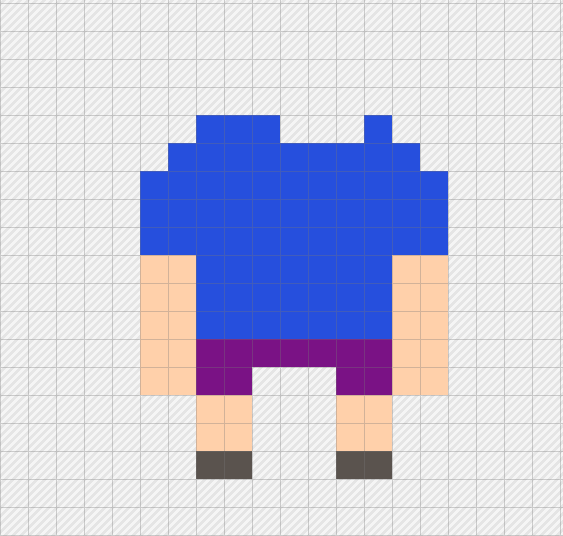
Alright, we’re starting to get a bit of a person shape. Let’s add in the lower part of the face. Fill in the pixels between the collars with the skin colour, then working your way upwards; add in a line of 7 pixels, a line of 9 pixels and a line of 11 pixels:
Alright, let’s put on an absolutely massive head by adding in a 13 pixel wide and 10 pixel high rectangle in our skin colour:
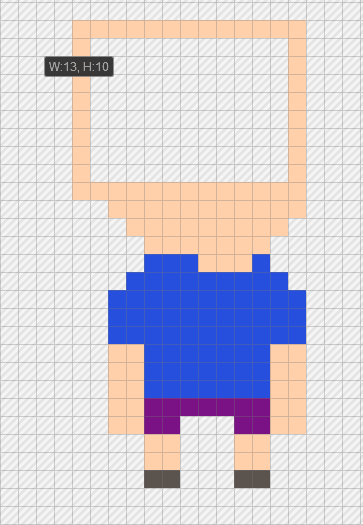
Colour that rectangle in with the paint bucket tool:
We’re going bigger!Add in a single line of 12 pixels on top of our rectangle making sure the right hand side is still aligned (ie, it finishes in the same spot) on the right side.
Then add in a 10 pixel line centered on top of that:
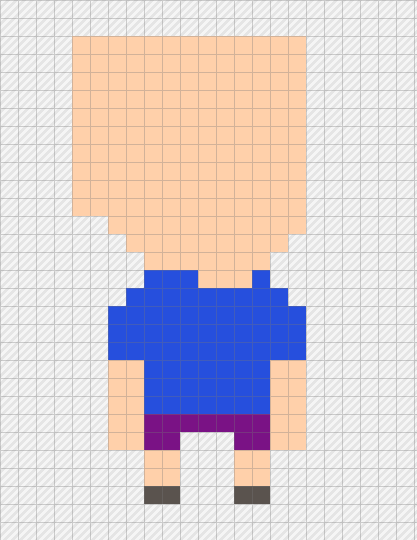
The reason the head is so big is the same reason those fairground and boardwalk caricature artists draw huge heads, that’s where all the details are.
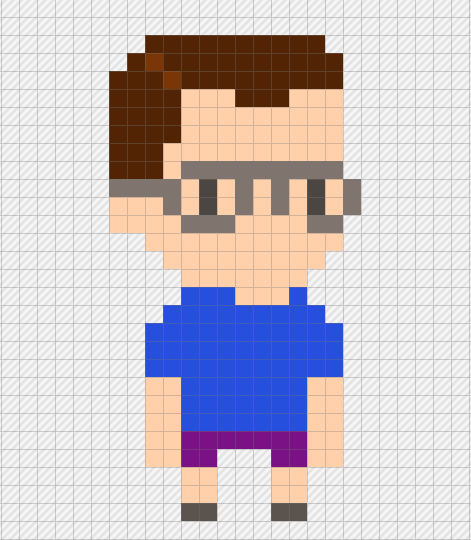
This avatar will have some glasses. I’m using the #7f756e grey colour:
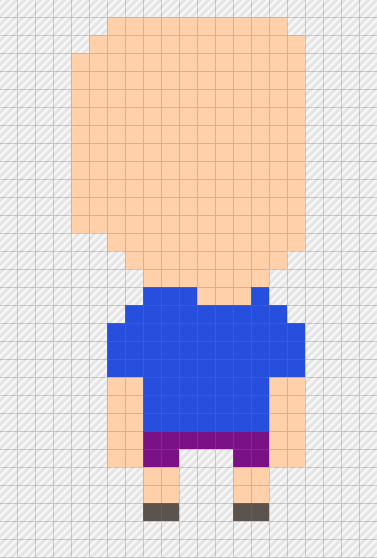
Alright, I’ve added in some brown hair (#522404) but now I’m worried that this guy’s head is just too massive. This guy looks smart, but no one is that smart.
I’m going to decrease the height of his head by one line… and the easiest way to do that is just to grab a section and then drag that section down a row to effectively replace those fields/pixels:
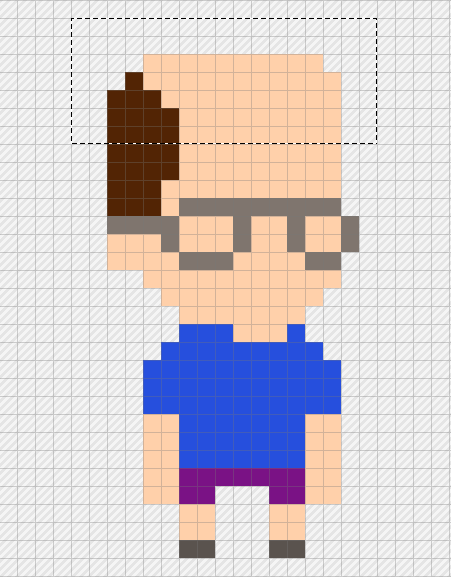
With Pyxel Edit, you grab a bit using the Selection tool, and then you can move that section by holding the Ctrl key:
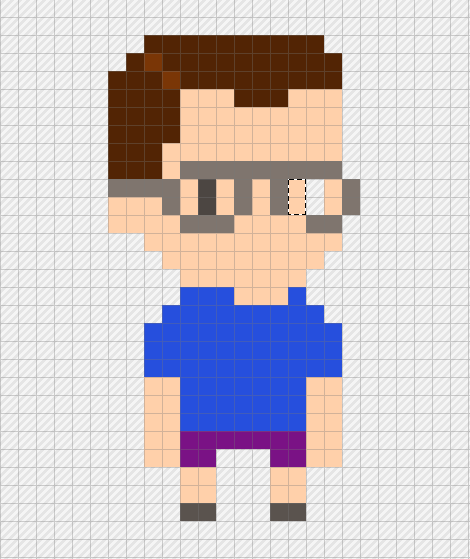
Now that he’s got a slightly smaller head, I’ve added in some more brown hair (#522404) on the top three rows of the head. I’ve left a couple of pixels bare to show the part in his hair:
I’ve added in 3 more pixels at the very top of his hairline to bring it down a touch… it just gives it all more shape:
The two pixels representing the part look weird in the skin colour so I’ve used a lighter brown (#7a3606) to colour it in. The lighter colour makes it clear it’s a part but without making it look odd:
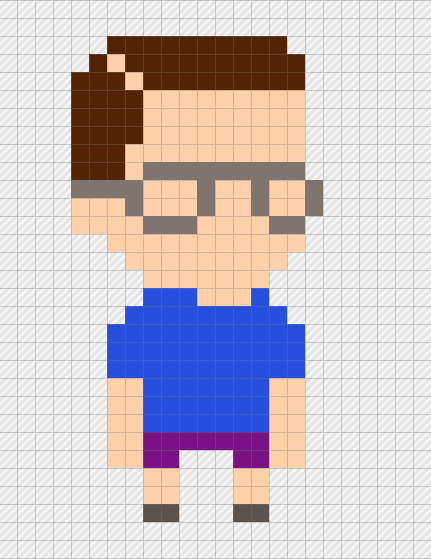
Our avatar needs eyeballs, so I’m using a darker grey with #4c4642. Drawing in the eyeballs made me realise that I need separation between the eyeball and the rims of the glasses, so I’m actually going to move the highlighted pixels below across to the left:
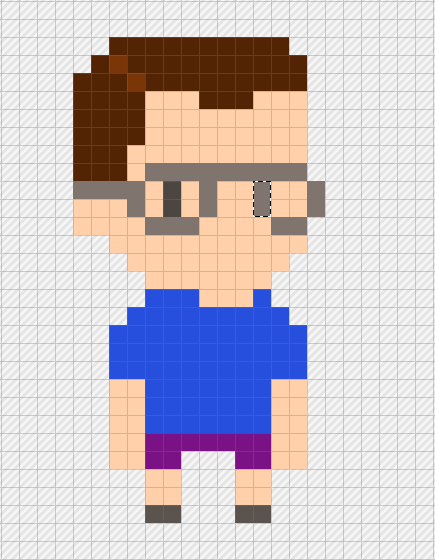
Using the same technique as above, once selected, hold down the Ctrl key and move the pixels to their new home:

Do the same with the skin colour as well:
Add in the right-side eyeball using #4c4642:
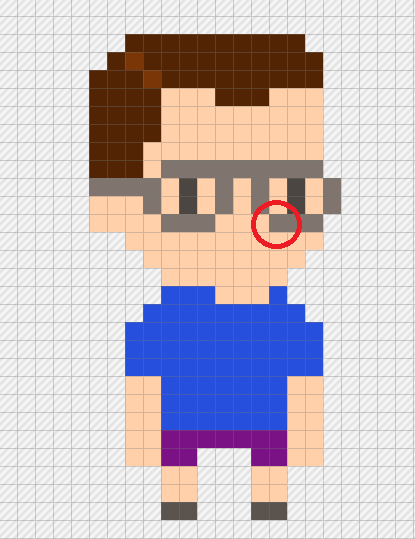
With all our manuevering, there is now a gap on the bottom right-hand glasses rim, fill that in with the glasses colour which in this tutorial is the #7f756e grey colour… in the spot that I’ve drawn the red circle around:
I’ve added in a background for this avatar dude… I’m using #a79099 here. I’ve added the background as a separate layer (see the bottom right hand corner of the screen. I really like using layers… it really limits your capacity for absolutely ruining everything when you make a mistake:
Using #997f89 I’ve added in a little shadow so that it doesn’t look like he’s floating in the air:
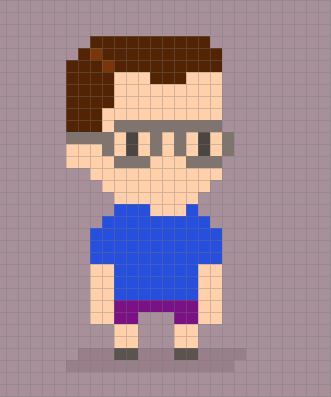
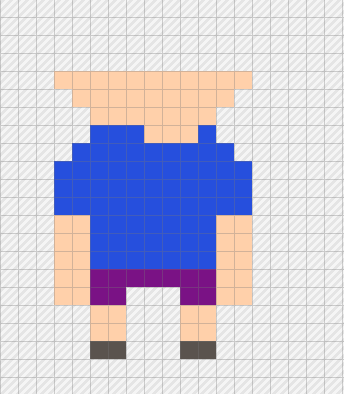
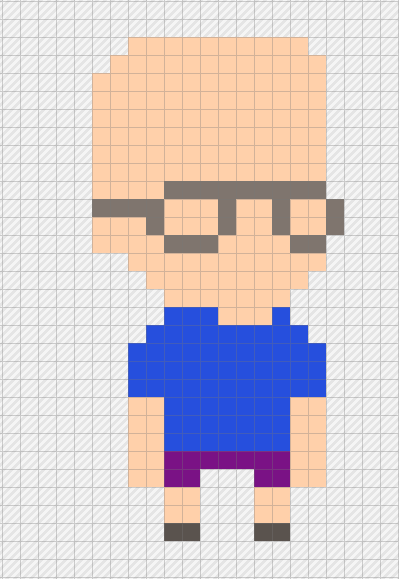
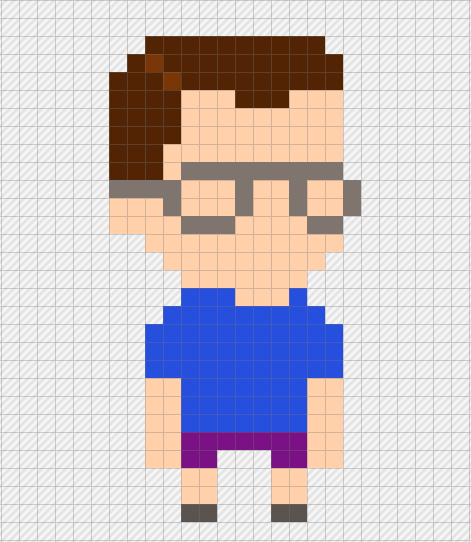
Here is our little avatar in it’s real size:

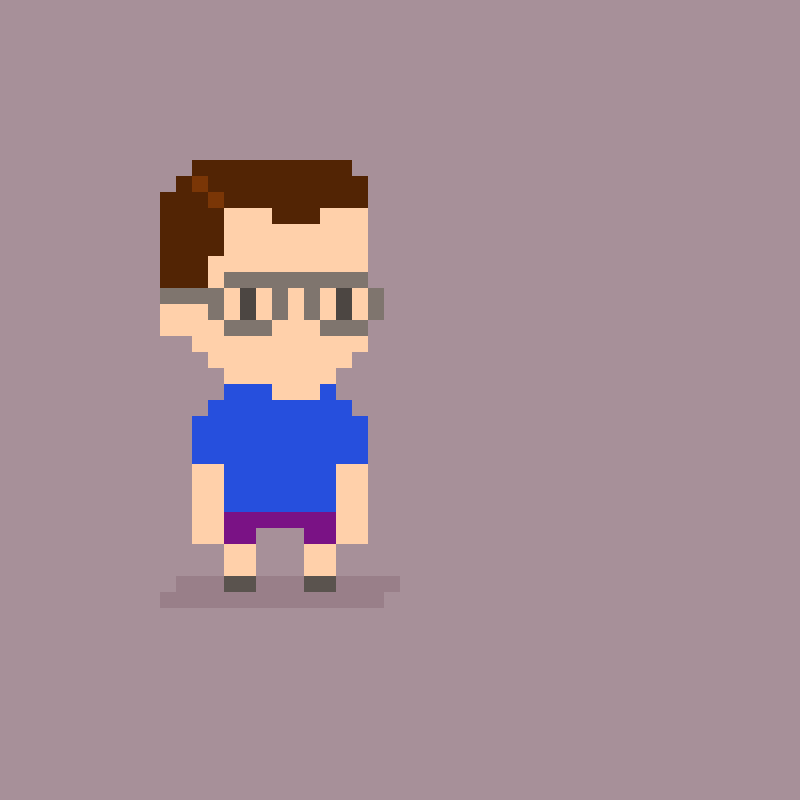
Here is our little avatar multiplied by 4:

Here is our avatar multiplied by 16:
So, there is the basic avatar… and in bonus content section for Coil Subscribers I’ll go into the shading and customizing so you can make avatars for your friends and family.
One of the things I like most about Pyxel Exit is the colour picker tool. I use Photoshop for a lot of things, and it’s incredible, you can do whatever you like if you know what to do. Pyxel Edit suggests variations in shading and highlighting… and I love that.
So by using the Colour Picker tool (or holding down Alt on your keyboard) you can click on any colour (in this example I’ve clicked on our avatar’s shoe… and you’ll see this:
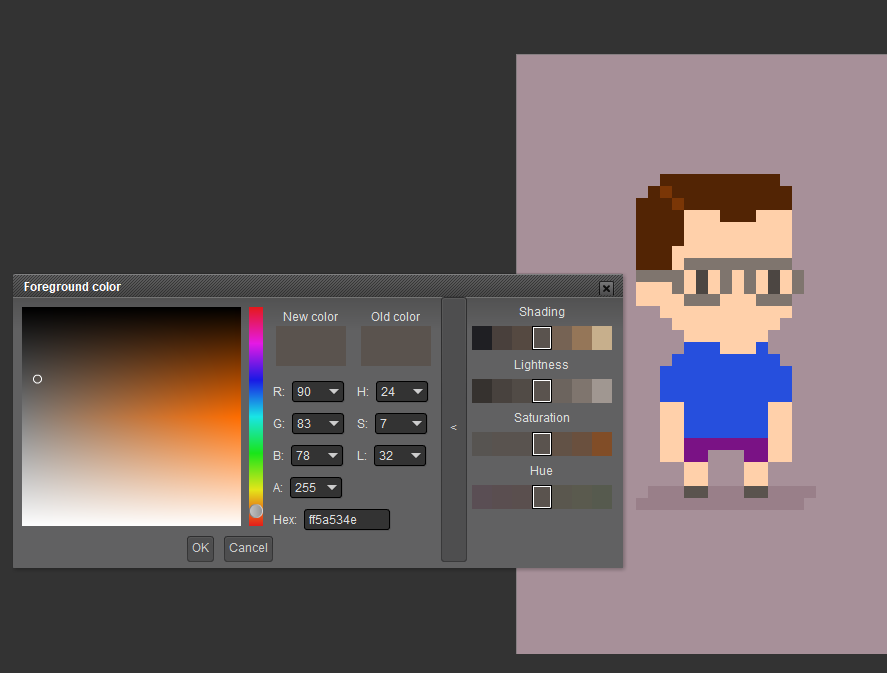
It’s the suggestions in the Lightness section that I get the most value from… although the Shading section can be good too.
So… in the Lighteness section, the colour we picked is in the middle box, and you can click one or two colours over to choose a shading or highlight colour. I’m going to go with shading:
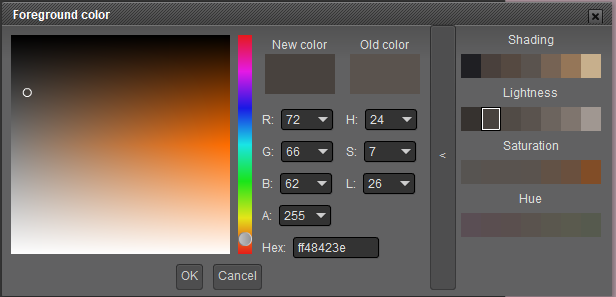
I’ve clicked two boxes to the left of my standard colour, and that’s what I’ll use for the shading… I’ll keep that standard throughout the avatar…
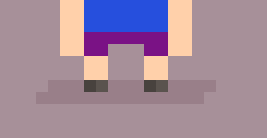
Use the shadier colour to add to the left-most pixels. Here are the shoes done:
And then it’s a simple matter of repeating that same process throughout:
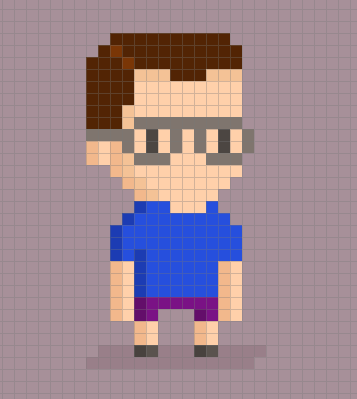
For the head, I actually used two different shadier colours to really differentiate between the ear and the chin…
Here is our finished product:
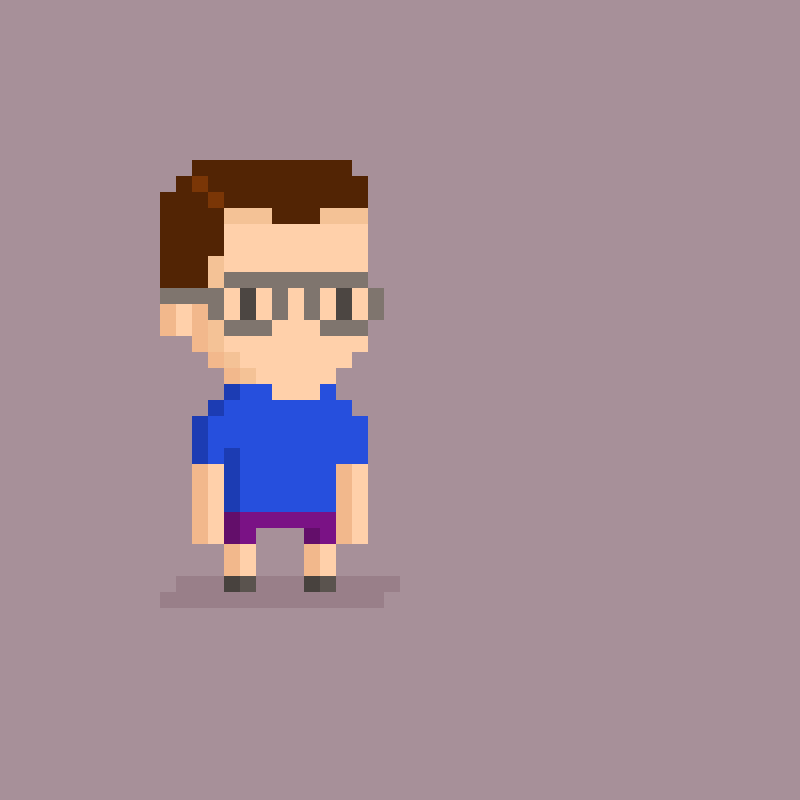
Once you’ve got the hang of it, you can start to customize it for other people.
For example, here is my interpretation of the very excellent NickelNDime…
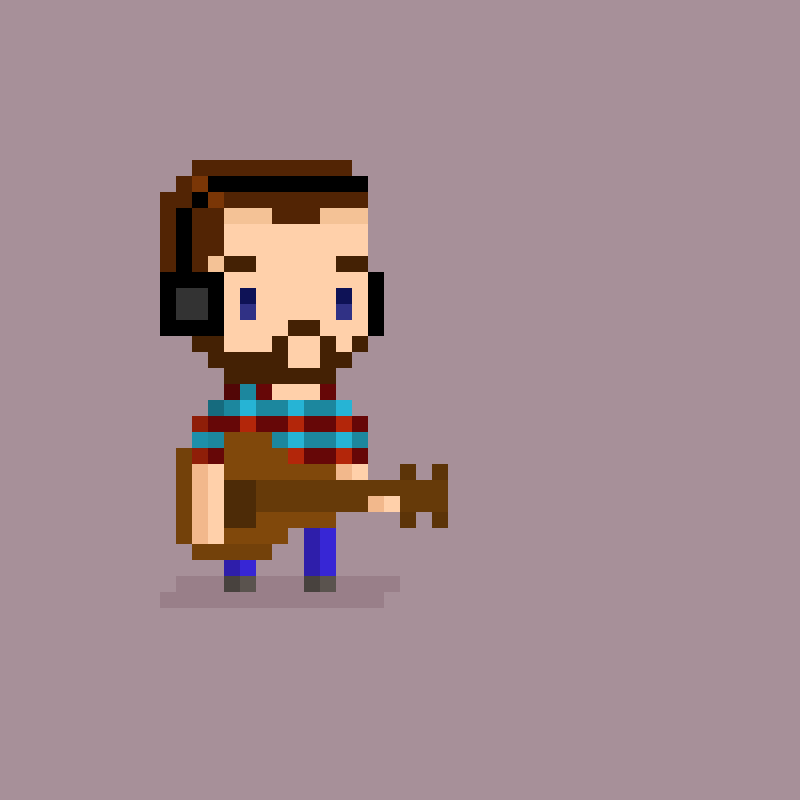
Don’t forget that changing the background colour really can give the whole image a different look and feel…
Thanks for reading my little Pixel Art Tutorial- create your own avatar post. Let me know if you create your own little pixel art avatar… hit me up on Twitter.

———–Sources: All images unless otherwise referenced were made by me in Pyxel Edit.—————-
Please note : The above post may contain affiliate links.
Below are some product referral links that I love and will benefit us both if you’re interested.
Splinterlands – A super fun blockchain card game that I play almost every day.
Fathom Analytics – Cookie notices no longer needed since Fathom doesn’t track data. You can see this site’s analytics right here.
Coil – A $5 USD monthly subscription fee provides you access to a ton of content and sites in a way that fairly rewards the creators of that content.
Exxp – The WordPress App to link your blog to the Hive blockchain.
NomadTask – Earn for completing online tasks like following accounts or completing reviews.
MINT Club – Create your own Smart Media Tokens with no coding required.
GALA Games – Gala is creating a whole platform of blockchain games. Definitely excited about Mirandus, Townstar and SpiderTanks.
MCO – Use my referral link https://crypto.com/app/9h9jnlxun9 to sign up for Crypto.com and we both get $25 USD.
Aptera – Get 30% off the reserve price for this incredible electric vehicle. (My post)