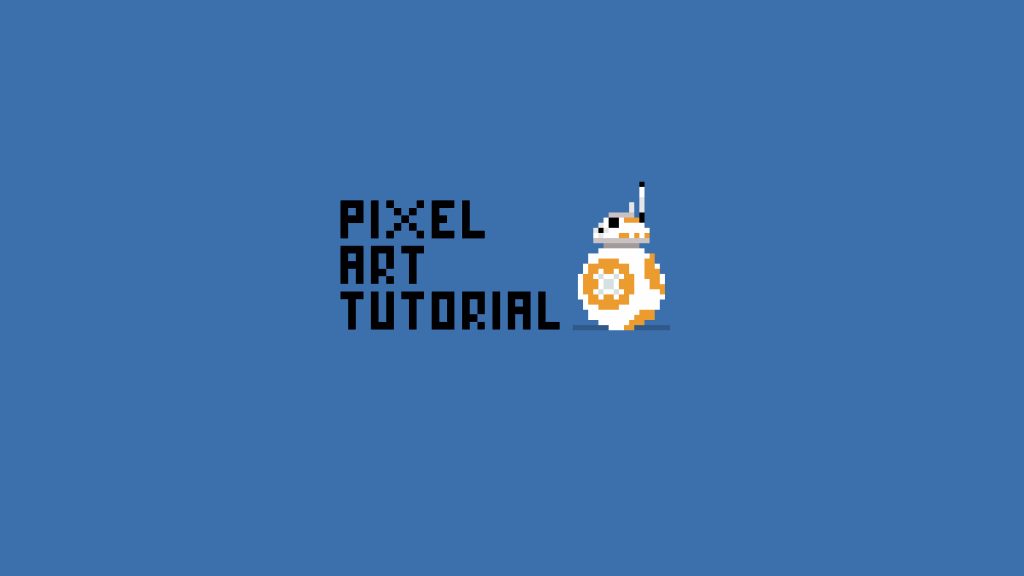
Welcome to my little Pixel Art Tutorial – BB-8 post!
Hi everyone!
My partner and I have been watching all the Star Warses in chronological order as part of our staying in pandemic fun.
The original 3 movies were massive to my childhood, particularly Star Wars (A New Hope) which we had on VHS tape… and both my sister and I probably still have the commercials memorized from that tape.
We’ve just finished The Force Awakens… we decided not to rewatch both seasons of The Mandalorian (just yet) which sits just after Return of the Jedi in the timeline. I had forgotten how much I loved this little dude…

Below is the work of Michael Myers who I’ve been a huge fan of for years (and he’s @drawsgood on Hive)… and didn’t realise until just now that he did the art work for my favourite eLearning platform Treehouse which is based here in Portland. If you’re ever interested in learning coding or programming, give these guys a look. I’ve done a ton of courses and they’re really well set out.

We’re going to recreate his pixel art BB-8 in this tutorial (although, not quite as well because he’s a master of shading).
This is our end product:

Okay, so let’s roll right in!
Again I’m using Pyxel Edit but you can really use any basic art or pixel art program. Start with a document that is 50 pixels by 50 pixels…
Since BB-8 is a round little dude, but pixel art is a super blocky art form… we could just draw a circle…

… but we want to embrace the blockiness, so we’re going to build little BB-8 from the ground up.

Source
Grab white and #ec9c2e and chuck down 2 pixels each. This is BB’s bottom:

The second line expands out on 2 pixels on either side:

Third line does the same… and the middle part of the two colours only shifts to the left by one pixel:

Fourth line will not expand outwards, but instead will essentially replicate the 3rd line, but with one less orange pixel:

We’re going to mix things up a bit with the fifth line and extend one pixel outwards, but entirely in white. Then add four #ec9c2e pixels about 4 pixels in. Also, I miscalculated the previous four lines, I was one pixel out… so add in an extra white pixel on the left sides where the red circles are:

Alright, looks like it’s starting to take shape. Line six is the same width as line five but the orange section in the middle expands by 2 pixels either side:

Line seven extends out by one pixel each side, and this is the widest part of BB-8. The orange #ec9c2e section is broken into blocks of two pixels each:

Line eight is the same width as line seven, and is mostly white… except for pixels two, three, ten, eleven and the last one… seventeen. That last orange pixel is the start of a new circle on BB-8’s back:

Line nine is again the same width as lines seven and eight. The orange circle on the left/middle side is as wide as it’s going to be but the new beginnings of a circle on the right side gets quite a bit bigger:

Line ten is almost identical to line nine… the only difference is that the very last rightmost pixel is white instead of orange:

Legs eleven (line 11) is also the same width (it gets smaller from here on in) with the orange colour in pixels two, three, ten, eleven, fourteen, fifteen and sixteen:

Line twelve is one pixel less wide than the previous lines, and the orange pixels are on pixels two, three, five, six, eight, nine, thirteen, fourteen and fifteen:

Unlucky line thirteen is the same width as line twelve but with way, way more orange. Fill ’em all in!

Line fourteen is a pixel less wide on each side, thirteen pixels in width overall. The main circle on the left side of BB-8 is finished now:

Line fifteen is the easiest one yet!It’s the same width as line fourteen and is entirely white… except for the very last pixel on the right-hand side:

Actually… maybe lines sixteen and seventeen might be even easier!We’ve got our complete circle now. Lines sixteen and seventeen are totally white. Line sixteen (going up from the bottom) is nine pixels long and line seventeen is seven pixels wide, centered in the middle:

Feelin’ good?

Source
Little BB-8 needs a head… like all good self respecting droids.
Let’s add in a background layer so that we see what’s going on:

Any colour is fine… we just want to be clear about where the white pixels go… and it’s not always super clear and obvious on the Pyxel Edit background.
It’s time to start on BB-8’s head. Grab colour #c9c2c2 and add in a line that is 2 pixels wider than line seventeen:

Add in two white lines the same width as the grey line. Add in the orange in pixels six, seven, nine and eleven:

The next three lines will all decrease in width by one pixel each side each line. The top line should be grey as well and add in a 3 pixel line of orange on the second (from the top) line on the right side:

There’s our little guy!

Source
BB-8 needs some antennas though:


Source
The one on the left side is 2 pixels high, and the one on the left is 8 pixels high.
Add in some black for BB-8’s camera eyes, and antenna:

Try using light grey #e7e7e7 to give the smaller camera eye some depth, and to give the antennas a bit more character:

Use #a39b9b to colour in BB-8’s ‘neck’ to give it more depth:

I used #d5e1e1 to make BB-8’s make circle-y thing more roboty by putting in some boops and beeps:

Let’s give BB-8 a shadow for some depth. I’ve used #30598a as a shadow colour:

Alright, I think little BB is looking pretty good. Here is the actual size created by this Pixel Art Tutorial – BB-8:

Here is a slightly less squinty size:

I actually watched the two most recent Star Wars movies to get ready for next one… and so I can tell you, completely honestly, that I love these pixel art images from Michael Myers.


I’m personally not a huge fan of the pure white eyes but I’m sure Michael tried a few different colours to see what would work best. Most of all I love the shadowing that Michael has done. I’m sure BB-8 was really hard to get right, especially with the shadowing. Ugh! It’s all so good, and very inspiring.

I’ve got a lot of work to do to ever get to this level… but doing tutorials like this really, really help. I really have to think about what we’re doing and why. It’s so good!
Thank you very much for reading this Pixel Art Tutorial – BB-8 post… and if you find yourself creating little BB or any other Star Wars characters, please do let me know on Twitter.
If you’re interested in a couple of my other Pixel Art tutorials, just click on through:
Pixel Art Tutorial – Bearded Dragon
PXLPET Unicorn – a pixel art tutorial
Splinterslands Goblin Sorcerer Pixel Art Tutorial

———————–
Sources:
All images unless otherwise referenced were made by me in Pyxel Edit and referenced heavily from Michael Myers.
———————–
Please note : The above post may contain affiliate links.
Below are some product referral links that I love and will benefit us both if you’re interested.
Splinterlands – A super fun blockchain card game that I play almost every day.
Fathom Analytics – Cookie notices no longer needed since Fathom doesn’t track data. You can see this site’s analytics right here.
Coil – A $5 USD monthly subscription fee provides you access to a ton of content and sites in a way that fairly rewards the creators of that content.
Exxp – The WordPress App to link your blog to the Hive blockchain.
NomadTask – Earn for completing online tasks like following accounts or completing reviews.
MINT Club – Create your own Smart Media Tokens with no coding required.
GALA Games – Gala is creating a whole platform of blockchain games. Definitely excited about Mirandus, Townstar and SpiderTanks.
MCO – Use my referral link https://crypto.com/app/9h9jnlxun9 to sign up for Crypto.com and we both get $25 USD.
Aptera – Get 30% off the reserve price for this incredible electric vehicle. (My post)


