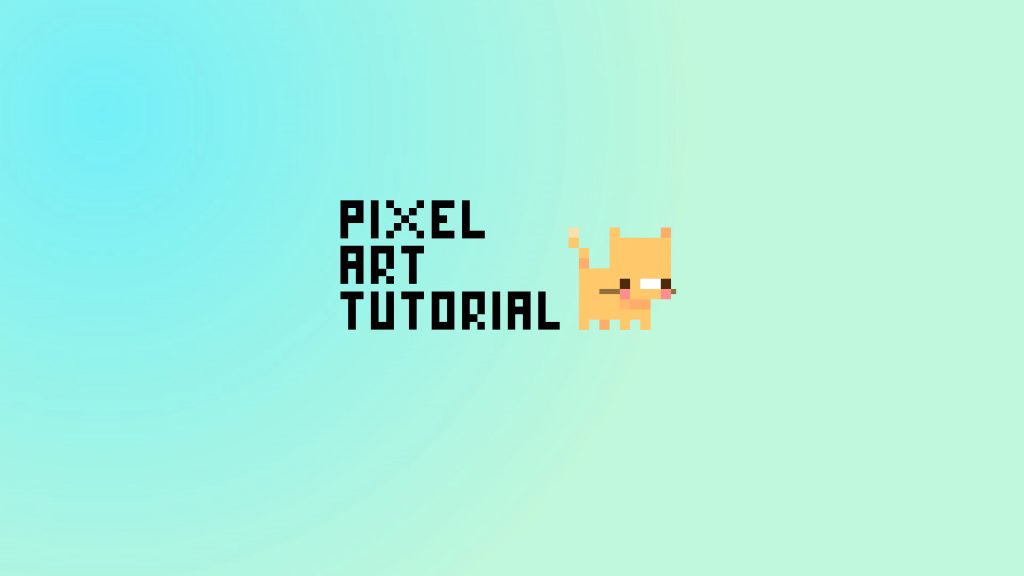
Welcome to my tiny little Pixel Art Tutorial – Tiny Cat post!
Hi everyone!
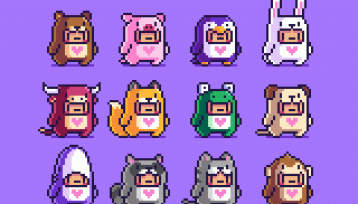
Last week I purchased a PXLPET Avatar from @Shoumi which I’m rapt with… so I thought I’d delve into creating one of the most popular PXLPETs in pixel art.
Today we’ll be making this little guy totally reconstructed from Shoumi’s PXLPET (@shoumi on Hive or PXLPET on Twitter) project as the basis for this tutorial. You can buy way more comprehensive versions at RARE art or check out their absolutely adorable website.

One of my great friends is PatriciaC @pattyalexx (who used to be PattyProducer on our PLAN stream – I made the pixel art opening screen) surrounded by her loves:

As per my previous Pixel Art tutorials, I’m using Pyxel Edit, but you can honestly use any art program on your device.
Start by creating a new document 50 x 50 or more:

For all my other pixel art tutorials, I’ve used a brush size of one, but this time we’re going to increase it to 2:

By increasing the brush size to 2, this means that it is much harder to get the pixels in the right spot, so turn the pixel grid on if you’ve got that option…

Using the box tool, create a box that is 14 pixels across and 10 pixels down:

Fill in the box, and then add the 4 feet at the bottom. We want the feet to be 4 pixel square and the space between each foot to also be a 4 pixel square.
Also, please name the layer ‘Body’.

Turn the Body layer off, create a new layer called Head and by using the Box tool, create a new box that is 12 pixels across and 10 pixels down:

Create the ears by adding 2 little 4 pixel square boxes in the top left and right corners of the head. Then select the colour #ffc96b, this will be the main colour for our cat:

Use the colour #4d2a0a for the eyes and pure white for the nose. Put the left eye at the bottom of the head two pixels in from the left side… and the right eye at the very bottom right-hand corner. The nose should be a 8 pixel rectangle that comes off the right eye, as below:

Use #fe8e8e for the cheeks which will go directly under the eyes… and then fill in the space between the cheeks with the orange colour #ffc96b.

Make the Body layer visible, and move the Head layer so that it’s 6 pixels from the top left hand corner and 6 pixels from the bottom right hand corner (the front leg):

Create a new Tail layer, and then on this layer, create a tail that starts on the top left-hand corner that is an 8 pixel rectangle on top (but offset to the left) of another 8 pixel rectangle:

On the Head layer (I’ve made the Tail and Body layers invisible, but you don’t have to), change the brush size back to one pixel, and then using the colour #90713b draw in the whiskers… on the right side I’ve just used one block, and on the left side I’ve got a single row of 4 pixels:

Paint the body on the Body layer the orange colour #ffc96b. Now we’ve got our full cat:

So, in order to create some depth, we want to vary the colours a bit…
On the Body layer, use #ffad6b for the cat’s back leg (the 2nd one).
On the Head layer:
🐱 use #ffad6b for the cat’s back ear (the right-hand one)
🐱 use #ffad6b and add two more squares under the cat’s chin
🐱 use #ffb86b and add a square directly under the cat’s left cheek

On the Tail layer:
🐱 use #ffad6b at the base of the cat’s tail
🐱 use #fcdfac at the tip of the cat’s tail

Okay, so hopefully after all those, your little cat looks like this:

If your cat looks like the below, your pixel art skills are incredible, but your instruction-following skills are shabby (like a tabby):

By varying the colours on the ear, tail, back foot and under the head, it gives our little kitty cat depth.
To animate the little guy, I created 8 frames, and changed the positions of the tail and head to give it some movement… this is why we created everything on it’s own layer:

To end up with this little friend:

The animation really does deserve its own post… but you can animate any way you want to give it life…
Also, to close this out… how good is the scene that Shoumi created?

Looking around, it looks like the PXLPET project had so many great little pieces available for sale as NFTs:


Great to see pixel artists embracing the crypto space!
If you’re interested in a couple of my other Pixel Art tutorials, just click on through:
Pixel Art Tutorial – Starwars BB-8
Pixel Art Tutorial – Bearded Dragon
PXLPET Unicorn – a pixel art tutorial
Splinterslands Goblin Sorcerer Pixel Art Tutorial
Thanks for reading my little Pixel Art Tutorial – Tiny Cat post!
Let me know if you create your own little pixel art kitty cat… hit me up on Twitter.

———————–Sources: All images unless otherwise referenced were made by me in Pyxel Edit.——————–
Please note : The above post may contain affiliate links.
Below are some product referral links that I love and will benefit us both if you’re interested.
Splinterlands – A super fun blockchain card game that I play almost every day.
Fathom Analytics – Cookie notices no longer needed since Fathom doesn’t track data. You can see this site’s analytics right here.
Coil – A $5 USD monthly subscription fee provides you access to a ton of content and sites in a way that fairly rewards the creators of that content.
Exxp – The WordPress App to link your blog to the Hive blockchain.
NomadTask – Earn for completing online tasks like following accounts or completing reviews.
MINT Club – Create your own Smart Media Tokens with no coding required.
GALA Games – Gala is creating a whole platform of blockchain games. Definitely excited about Mirandus, Townstar and SpiderTanks.
MCO – Use my referral link https://crypto.com/app/9h9jnlxun9 to sign up for Crypto.com and we both get $25 USD.
Aptera – Get 30% off the reserve price for this incredible electric vehicle. (My post)